
前言
由于项目随着迭代越来越重,复杂度高,耦合性高的问题出现凸显,导致模块难以移植,所以调研了组件化方案并且实行,这里简单谈谈组件管理方案:CocoaPods
优势
组件化后每个组件相当于单独的小app,可以独立开发,测试
劣势
开发成本略有增加,并且开发前的需求评审更为重要,需要考虑的更多
私有库
CocoaPods管理分为两种私有库和公有库,公有库类似AFNetwork,任何人都可以下载,商业项目中是不被允许的,所以我们采用私有库
关于静态库或动态库
虽然在pod中使用库的方式可以防止误操作(修改他人代码),但是小团队来说我认为成本太高
流程
1 | 创建工程 |
远程私有索引库创建
创建工程
选择一个代码管理平台创建私有Spec Repo,记下https地址,如图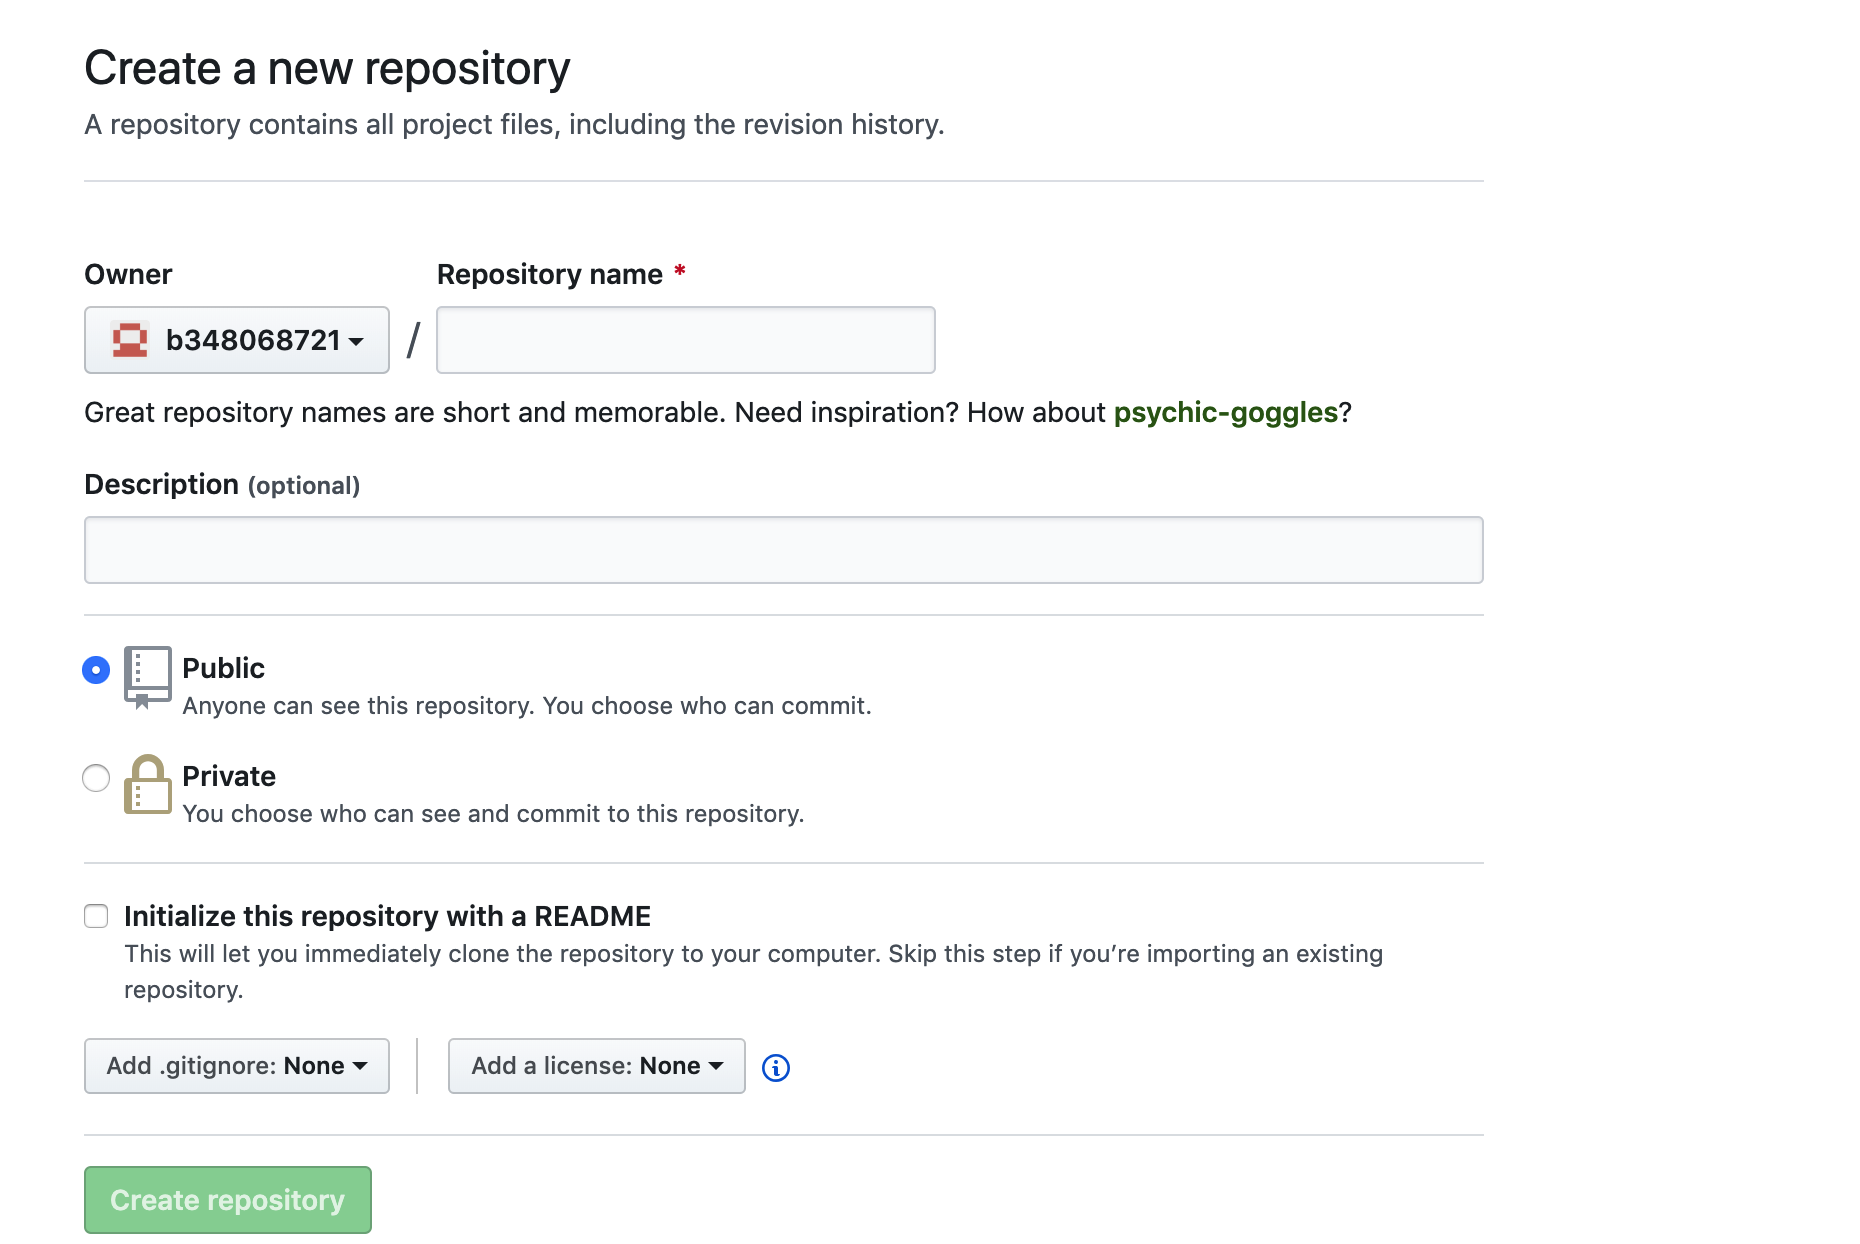
1 | pod repo add 仓库名 仓库地址 |
~/.cocoapods/repos目录下面多了个xxxxx目录
私有pod创建
本地私有代码库
1 | pod lib create xxxxx |
提示的文件信息根据需要填写,创建完成本地私有库自动打开工程
所有的组件放入Example的平级文件(如XDComponent)中,Assets文件属于资源文件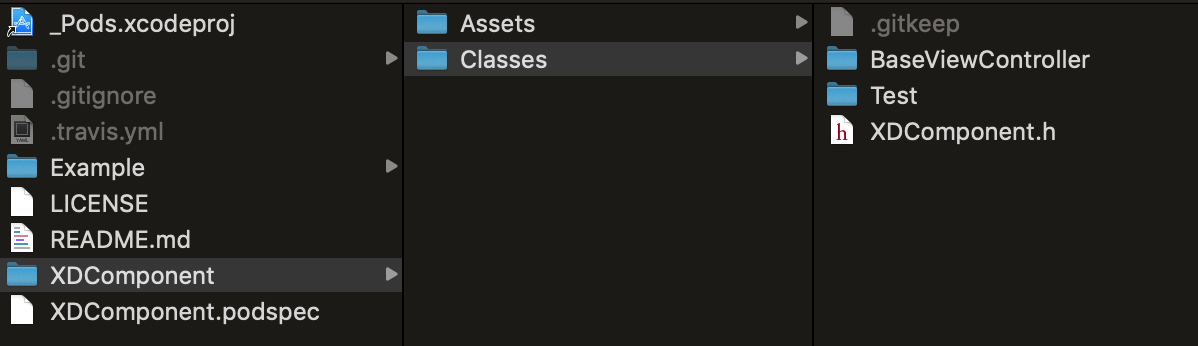
添加访问权限1
2
3
4git add .
git commit -s -m "Initial Commit of Library"
git remote add origin git@coding.net:wtlucky/podTestLibrary.git
git push origin master
标记tag,podspec会根据tag来区分版本(一定要保证git tag 与 podspec文件中的s.version保持一致,否则报错)1
2git tag -m "first release" 0.1.0
git push --tags #推送tag到远端仓库
编辑podspec文件1
2
3
4
5
6
7
8
9
10
11
12
13
14
15
16
17
18
19
20
21
22
23
24
25
26
27
28
29
30
31
32
33
34
35
36
37
38
39
40
41
42
43
44
45
46Pod::Spec.new do |s|
s.name = 'XDComponent'
//版本号与tag要保持一致
s.version = '1.1.3'
s.summary = 'try to new XDComponent.init controller with xib'
# This description is used to generate tags and improve search results.
# * Think: What does it do? Why did you write it? What is the focus?
# * Try to keep it short, snappy and to the point.
# * Write the description between the DESC delimiters below.
# * Finally, don't worry about the indent, CocoaPods strips it!
//描述
s.description = <<-DESC
'Component Test'
DESC
s.homepage = 'https://github.com/b348068721/XDComponent'
# s.screenshots = 'www.example.com/screenshots_1', 'www.example.com/screenshots_2'
s.license = { :type => 'MIT', :file => 'LICENSE' }
s.author = { 'b348068721' => 'guanxidonghrb14@163.com' }
s.source = { :git => 'https://github.com/b348068721/XDComponent.git', :tag => s.version.to_s }
# s.social_media_url = 'https://twitter.com/<TWITTER_USERNAME>'
s.ios.deployment_target = '8.0'
//公开的头部
s.public_header_files = 'XDComponent/Classes/XDComponent.h'
s.source_files = 'XDComponent/Classes/XDComponent.h'
//子文件夹的创建
s.subspec 'BaseViewController' do |ss|
ss.source_files = 'XDComponent/Classes/BaseViewController/*.{h,m}'
ss.public_header_files = 'XDComponent/Classes/BaseViewController/BaseViewController.h'
end
//子文件夹的创建
s.subspec 'Test' do |ss|
ss.source_files = 'XDComponent/Classes/Test/*.{h,m}'
ss.dependency 'XDComponent/BaseViewController'
ss.public_header_files = 'XDComponent/Classes/Test/*.h'
end
//资源文件
s.resource_bundles = {
'XDComponent' => ['XDComponent/Assets/*']
}
# s.frameworks = 'UIKit', 'MapKit'
# s.dependency 'AFNetworking', '~> 2.3'
end
本地验证
1 | //--allow-warnings 忽略警告 |
spec repo验证
1 | pod spec lint --allow-warnings |
更新索引库,向Spec Repo提交podspec
1 | pod repo push XDSpecs XDComponent.podspec --allow-warnings |
思考
1.本文的podspec文件创建参考了AFNetworking
在子文件夹的创建中ss.source_files的应用一定要写清引用哪些文件,我碰到的问题为文件夹创建出来了,但是文件并没有在文件夹中。
2.组件创建中最好创建一个与组件同名的头部文件,因为如果在项目中想继承组件,那么创建出来的文件会引用1
#import<XDComponent/XDComponent.h>
如果没有该文件会报错,另外一个解决办法就是修改引用头文件。在AFNetwork中也有同样的问题
3.组件的编写中同文件夹下的文件#import会自动提示,而不同文件夹下需要自己写入(不会报错),不同文件夹的引用需要注意在podspec中填好依赖关系